Many people that rebuild engines wait until the engine is assembled to paint the outside of the engine. This is done to minimize the amount of work required, but it results in the gaskets being covered in paint while areas under the various bolts remain unprotected. We wanted a cleaner look, so we opted to paint all of the components individually; masking off the mating surfaces before we sprayed.
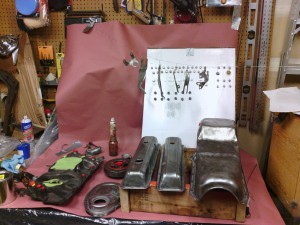
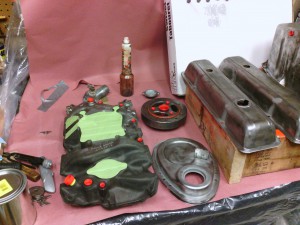
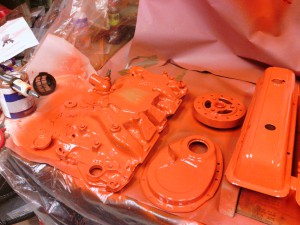
The valve covers, and oil pan are fully stripped and after a wipe-down with acetone they are ready for paint. Note the white cardboard box in the back with all the engine bolts. Pressing them into cardboard protects the threads from over-spray.
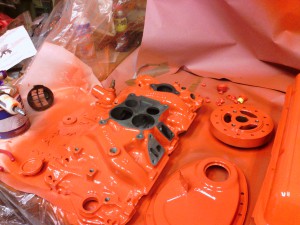
The intake has been masked, the bolt holes blocked off, and we’re ready to spray the Chevy Engine Orange.
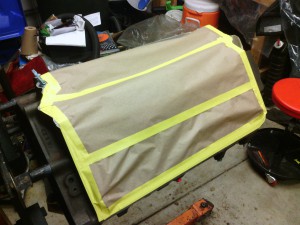
We scrubbed down the areas of the block that were going to be painted with acetone and then masked off the mating surfaces and plugged the threaded holes to get ready for spraying. We were careful to avoid washing the WD-40 out of the cylinders as we wanted to keep those areas protected from rust.
We started prepping the Chevy Engine Orange paint (a ceramic base paint from Eastwood that is incredibly hard) by mixing it with a urethane activator in a 4:1 ratio (this is a 2K paint). We then attempted to use the same spray bottles that we used when painting the cylinder heads but it was going on too slow, so we switched to the Harbor Freight HVLP detail gun and things went smoothly after that.
Painted Intake, Timing Chain Cover, and Harmonic Balancer.

The painted valve covers and oil pan.
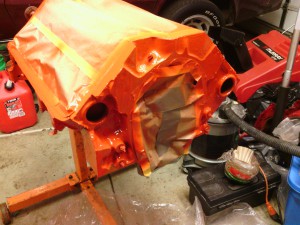
The freshly pained engine block.
At the “tack” stage, we removed the masking and hole plugs because if they were left in until after the paint hardened, the removal could have chipped the masked paint edges (the cured paint is THAT hard).
With the masking and plugs removed, the intake, timing chain cover and harmonic balancer are looking good!
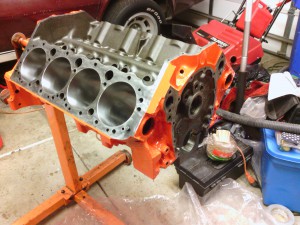
After the masking was pulled off, the machined block is looking great! We went ahead and painted the serial number tab (just in front of cylinder #2). If we were going for a Bloomington Gold restoration, we would have left this tab unpainted as it originally came from the factory that way.
Everything is looking great! Next up, we start the engine assembly process. It’s going to be fun to start putting all the new rotating parts in this beautiful looking engine block. Come back soon to check on our process.