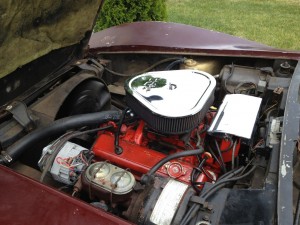
Starting small….
On a big project (such as Cora’s restoration) sometimes you have to do some little jobs that have immediate payoff. This can help give you much needed satisfaction and closure. When we bought Cora back, one of the things we wanted to change (or put right) was the engine compartment chrome dress-up items. A lot of home mechanics will put such items on vehicles to have it look “flashy” under the hood and say “look at me!” But when Jackie and I discussed this, we both felt we should have Cora look as original as possible, so the dress-up items had to go.
As a result, we started looking for an original air cleaner, a set of valve covers and an alternator bracket at the Bloomington Gold Corvette Show this weekend. We did score a set of valve covers (for $30!), a Stingray badge for the right fender ($5) and a thermostat housing ($5), but no air cleaner or alternator bracket. In talking to some of the vendors at the show, it seems that the single-snorkle L-48 air cleaner from the mid-70’s is the most difficult air-cleaner to find now days (plenty of dual-snorkles were at the show though). It seems so many people threw these away that it is hard to find originals anymore. Looking at ebay showed prices of $250 for a beat up unit and $400 for an in-box NOS (New-Old-Stock) part, all of which was a bit pricey. We did get a lead at the show that I’ll follow up a little later (I need to give the vendor some time to get back home first and check his inventory). Otherwise, we can wait for a deal to pop up on this item…we have time.
Now back to baby steps. While we wait to really dig into the project (I have a bathroom remodel and a little ‘glassing to do on the airplane project first), we thought we would do a quick valve cover transplant to at least get that part of the engine bay back to original specs. We didn’t repaint the valve covers, since we will be pulling the engine and rebuilding it in a couple of months or so and at that time we will do a complete cleaning and re-spray in “Chevy Engine Orange”.
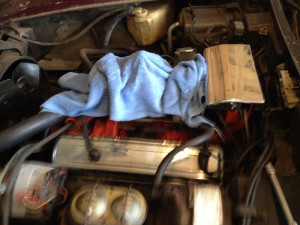
To start (in prepping the patient) we first removed the air cleaner to have better access to the valve covers…
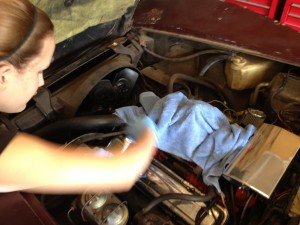
The blue towel is to protect the open carburetor from falling debris. Jackie then started on the driver’s side valve cover while I worked on the passenger’s side cover.
Only four bolts hold each valve cover on, so getting the cover off is relatively quick. The only nuisance was that a stud kit was installed and the studs had corroded and were a little difficult to remove from the heads.
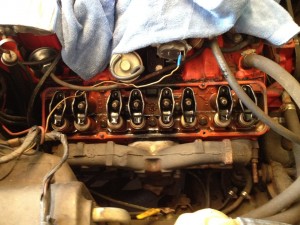
After the studs were removed, I inspected the valve train. I was looking for signs of bad lifters (i.e. no oil on the rocker arms, or excessive side play. The heads were rebuilt around 80,000 miles so I didn’t expect to find much wear (the car now has 116,000 miles on it), and I was pleased to see that no wear was evident. We will inspect the heads more when we rebuild the engine over the winter. For now, all looked good.
After a little clean up, the original style valve cover was installed and bolted into place.
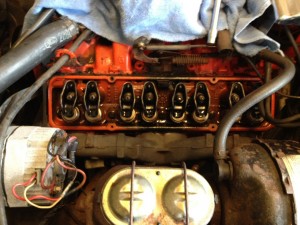
The driver’s side valve train also shows a lack of wear with oil evident on each of the rocker arms (this shows that the lifters are distributing oil to each of the rocker arms correctly). In other words, it’s all good!
Now with the new OEM style valve covers installed, we are a step closer to getting the engine compartment back to OEM specs. Next up…finding an OEM air cleaner.
By the way (in case you’re curious), the chrome rectangular cover at the rear of the engine bay is stock and was meant to shield the AM/FM radio from ignition system noise (caused by the high voltage ignition sparks) since the Corvette’s fiberglass body and firewall do not block ignition noise at all. There are also supposed to be side covers for the ignition wires to run in, but those are missing too (more parts to buy at a later date).

