A little over three weeks away!
Jackie couldn’t choose just any graduation picture, it had to be something special, and it had to include the love of her life…
Cora!
Now to finish those final exams!

Hello! Just getting an update in between all of the insanity going on in my life right now. Between finishing up senior year, college planning,scholarship applications, work, and of coarse, Cora, my life has been a little taste of every sort of crazy. But rest assured, things have been getting done, and I’m right here to tell you all about it!
Let’s start with Cora progress! Unfortunately, because of all of the insanity, my dad and I have not been able to put a whole lot of work into Cora. We are about half way done with the driver’s side floor pan. Hopefully I’ll get to get some more welding practice in. For now though since I’ve had relatively no practice, I shall have to be content with welding a smiley face on a spare sheet of metal. Because of how arduous these floor pans have been, lets just say that I shall be quite happy when they are done and over with. My dad can verify that grinding and cutting is not exactly my favorite thing.
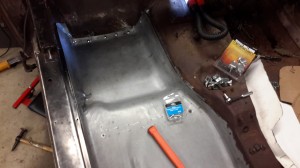
We’re getting close! We only need to weld in the new corner, drill out one rivet hole, and then begin the final installation. N.B. – Do not mount the rivets as shown in the photo; I was only using the rivets to position the floor pan. The rivet head has to be on the fiberglass side!
Since there has not been a huge amount of work done on Cora lately, I shall have to move on to a different and more progressive topic. I am ecstatic to report that I have been accepted into Kettering University. For those of you who don’t know, Kettering University is a small school in Flint, Michigan that is famous for it’s involvement in the automotive industry. Formerly known as General Motors Institute, many “greats” in the automotive industry such as Mary Barra, who is General Motor’s current CEO, are Kettering alumni. At Kettering, I will be pursuing a degree in mechanical engineering, with a minor in business administration. It is a “year round” school. I will explain to you in a post this weekend how that will work and how Cora will fit into it all. Also, does anybody know any scholarships that I could apply for? I have a 3.5 GPA, and a 24 on the ACT. I will need all of the financial help that I can get.
Lastly, I want to let you guys know ahead of time that my dad and I are planning on going on a Route 66 trip this summer in June. Sadly, because Cora will not be finished by then, it will most likely be in a rental car. However, I won’t hesitate to keep up with the blog posts telling you guys about everything my dad and I stumble upon with the trip. We are considering this our “practice” trip so that when we do go in Cora, we’ll get everything right!
Thank you guys for reading even though I have definitely not been the best at keeping you guys posted on what is going on. Thanks, everyone for all of the help and support from this proud Kettering bulldog!
-Jackie Wilson
With more to come…
Yes, it has been a while since the last post. We have made some progress since then (cleaning up exhaust manifolds and fitting work on the driver’s side floor pan), but I was overwhelmed with work projects and business travel.
I finally got a couple of weeks off, so in these two weeks I’m working on the new floor pan installs and preparing for the body lift.
The first step in fitting the new driver’s side floor pan was to position the rear of the pan (and by extension the rear seat mounting nuts). After setting the pan height with a template that I made from the original pan’s mount locations, I drilled a couple of holes and threaded in some self tapping sheet metal screws.
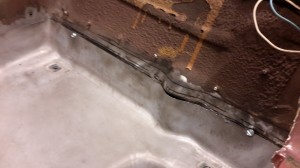
For fitting the sides and front of the floor pan, we secured the pan with sheet metal screws go the rear bulkhead (after aligning it with the rear template).
One of the issues we ran into was the new floor pan had a twist in the middle which resulted in the left front seat mount being 1.5 inches too low. It wasn’t simply a twist in the pan, as when we untwisted the pan the left front was now 3 inches too high. The only way to correct for this was make a relief cut near where the pan dips into the footwell.
After making the cut we needed to add in some replacement metal to fill the ‘V’ made by the relief cut. We used metal from the side trimming trimming to fill iit in.
The left front of the pan was not long enough to make it to the fiberglass firewall, so we needed to add some metal to the front of the pan.
We started by making a paper template and then outlining it on to some 18ga stock and then cutting it out with tin snips and a 3 inch metal cutter.
after cutting and shaping, it’s ready for welding to the front of the pan.
The trail fitting is getting close!

We’re getting close! We only need to weld in the new corner, drill out one rivet hole, and then begin the final installation. N.B. – Do not mount the rivets as shown in the photo; I was only using the rivets to position the floor pan. The rivet head has to be on the fiberglass side!
The only bits left in the pre-installation fitting is to do the final welding on the sheet metal extension, drilling out the rivet hole in the extension, and then making the final cuts along the drivetrain tunnel. We’re getting close!
A note of warning, we are using large flange rivets to attach the front of the floor pan to the fiberglass firewall. For the convenience of positioning the pan we inserted some 3/16ths 1/4 inch long wide flange rivets in from the sheet metal side, but the correct way is to have the large flange on the fiberglass side of the panel to help spread the load of the fastener. Do not mount the rivets as show above; that was done only to position the pan.
Come back soon…we’ll be welding in the driver’s side floor pan in the next day or so.
We’re taking your seat out from under you!
Jackie and I have been working for a while on the driver’s side floor pan and we’re now doing a trial fit before we do the final cuts and welds.
I’ll do a more comprehensive update on the whole floor pan replacement process later, but here is a quick view of the current status:
More info from both Jackie and I next week!
Changes are coming pretty quickly in my life right now, but rest assured that they are for the better. A few weeks back, my dad and I were on our way to a college visit in Chicago where I had a meeting with one of the professors. I’ll be honest, I was a little bit nervous on the way there because it was my first college visit and meeting with a professor. In the car, my dad was asking me practice questions that the professor might have asked. One question my dad asked was something along the lines of, “Why do you want to enter the automotive industry?”
It didn’t take me a second to ponder this when three simple yet magical words began floating in my mind. See cars soar. Thoughtfully, I blurted them out no slower than they entered my subconscious. See cars soar. “How so?”, my dad asked quizingly. Replying with an aura of dreaminess in my voice, I described it to him.
I want my car designs and ideas to change the world. I want to see people light up when they first see their new car that I designed and engineered at the dealer for the first time. I want to hear people brag to their friends about how my cars can long outlast any foreign and American competitor in reliability and coolness. I want to feel the rush of exhilaration that my buyers feel when they take one of my performance cars to the limits for the first time. Lastly, I want to smell the burning tires years into the future, when an older gentlemen or woman can still do burnouts and other tricks with one my cars demonstrating that both he/she and the car, “still has ‘it”.
I refuse to end up like a “Molly Hatchet” song with Dreams I’ll Never See. Simply, it won’t do. I have big dreams to fill, and a lot of stepping stones in the automotive world to pass over. Cora is the first that I have yet to fully conquer, but I’m getting there. The most recent thing we did with her was getting measurements for the floor pans. Since floor pans already prepared to put in your Vette are pretty expensive, my dad and I are making floor pans out of sheet metal. I will tell how in my next post.
Lastly, I will conquer my dream to see cars soar by first, conquering my dream to see Cora soar. My dad and I are planning a Route 66 trip for after we finish Cora. It will be truly amazing. Rest assured my friends, Cora will soar. And when she does on ’66, I’ll be here to brag and tell all about it. However, right now, I have some floor pans to get to. Talk to ya’ll later!
Thanks for reading and take care!
-Jackie W.
Closing thought, if you could take a road trip in your dream car, what kind of car would you be driving, what route/roads would you take it down, and who would you bring with you? Comment below! ![]()
Or knuckle-scrapes, body odor, and dirt in the eyes…
It was a little bit of a trial today removing the drive-shaft and getting ready for sheet metal work. I managed to get the drive-shaft down while only partially blinding myself with rust and dirt from underneath the ‘Vette. Then during removing some fiberglass covers, I manage to cut my hand without noticing it. Jackie noticed it though and exclaimed, “Dad! You’re bleeding!” It had mostly stopped, though, so I kept working.
Jackie’s trial was that she had to put up with my body odor. I had left my work clothes in a pile in the hamper from when I worked on her Fiero last Saturday (in the hot hot sun I should add). They then fermented, and made for a wonderful boque of sweaty male. Unfortunately, I had no other “grunge clothes” to don, so smelly B.O. ridden outfit it was. I was only allowed to continue after we opened the garage door (which came at the cost of mosquitoes) and I promised I would wash the work clothes before our next session.
On the restoration front, there has been a fair amount of progress since March. We finished the engine rebuild and it is looking sweet! We finished removing the steering column, the power brake booster, the brake pedal and mountings, and the gas pedal.
We are getting ready to weld in new sheet metal in the floor pans, and as part of the prepration we’re having to clear the area around the welds; specifically the door sill area. This requires removing the door and then the fiberglass covering the door pillar, and door sill. We started by using the engine lift to hold up the door while Jackie removed the hinge bolts.
After the door was placed on saw horses, we worked on removing the door pillar fiberglass cover with Jackie drilling out most of the rivets.
The door sill itself is going to be a little more involved. We need to cut through the bonding joints and we want to make sure not to cut in the wrong places, so we need to do a little more research.
More to come, hopefully with less blood-letting.
Many people that rebuild engines wait until the engine is assembled to paint the outside of the engine. This is done to minimize the amount of work required, but it results in the gaskets being covered in paint while areas under the various bolts remain unprotected. We wanted a cleaner look, so we opted to paint all of the components individually; masking off the mating surfaces before we sprayed.
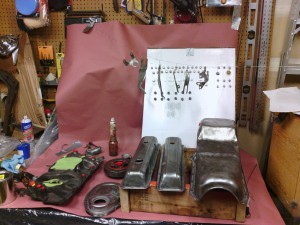
The valve covers, and oil pan are fully stripped and after a wipe-down with acetone they are ready for paint. Note the white cardboard box in the back with all the engine bolts. Pressing them into cardboard protects the threads from over-spray.
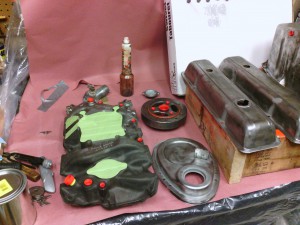
The intake has been masked, the bolt holes blocked off, and we’re ready to spray the Chevy Engine Orange.
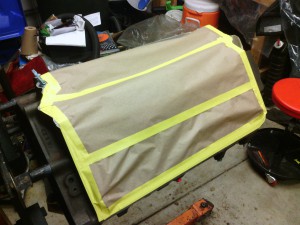
We scrubbed down the areas of the block that were going to be painted with acetone and then masked off the mating surfaces and plugged the threaded holes to get ready for spraying. We were careful to avoid washing the WD-40 out of the cylinders as we wanted to keep those areas protected from rust.
We started prepping the Chevy Engine Orange paint (a ceramic base paint from Eastwood that is incredibly hard) by mixing it with a urethane activator in a 4:1 ratio (this is a 2K paint). We then attempted to use the same spray bottles that we used when painting the cylinder heads but it was going on too slow, so we switched to the Harbor Freight HVLP detail gun and things went smoothly after that.
At the “tack” stage, we removed the masking and hole plugs because if they were left in until after the paint hardened, the removal could have chipped the masked paint edges (the cured paint is THAT hard).
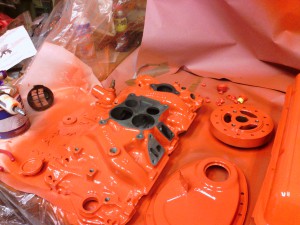
With the masking and plugs removed, the intake, timing chain cover and harmonic balancer are looking good!
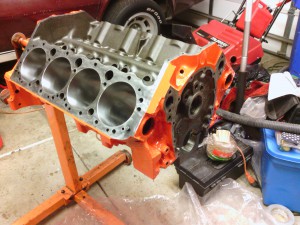
After the masking was pulled off, the machined block is looking great! We went ahead and painted the serial number tab (just in front of cylinder #2). If we were going for a Bloomington Gold restoration, we would have left this tab unpainted as it originally came from the factory that way.
Everything is looking great! Next up, we start the engine assembly process. It’s going to be fun to start putting all the new rotating parts in this beautiful looking engine block. Come back soon to check on our process.
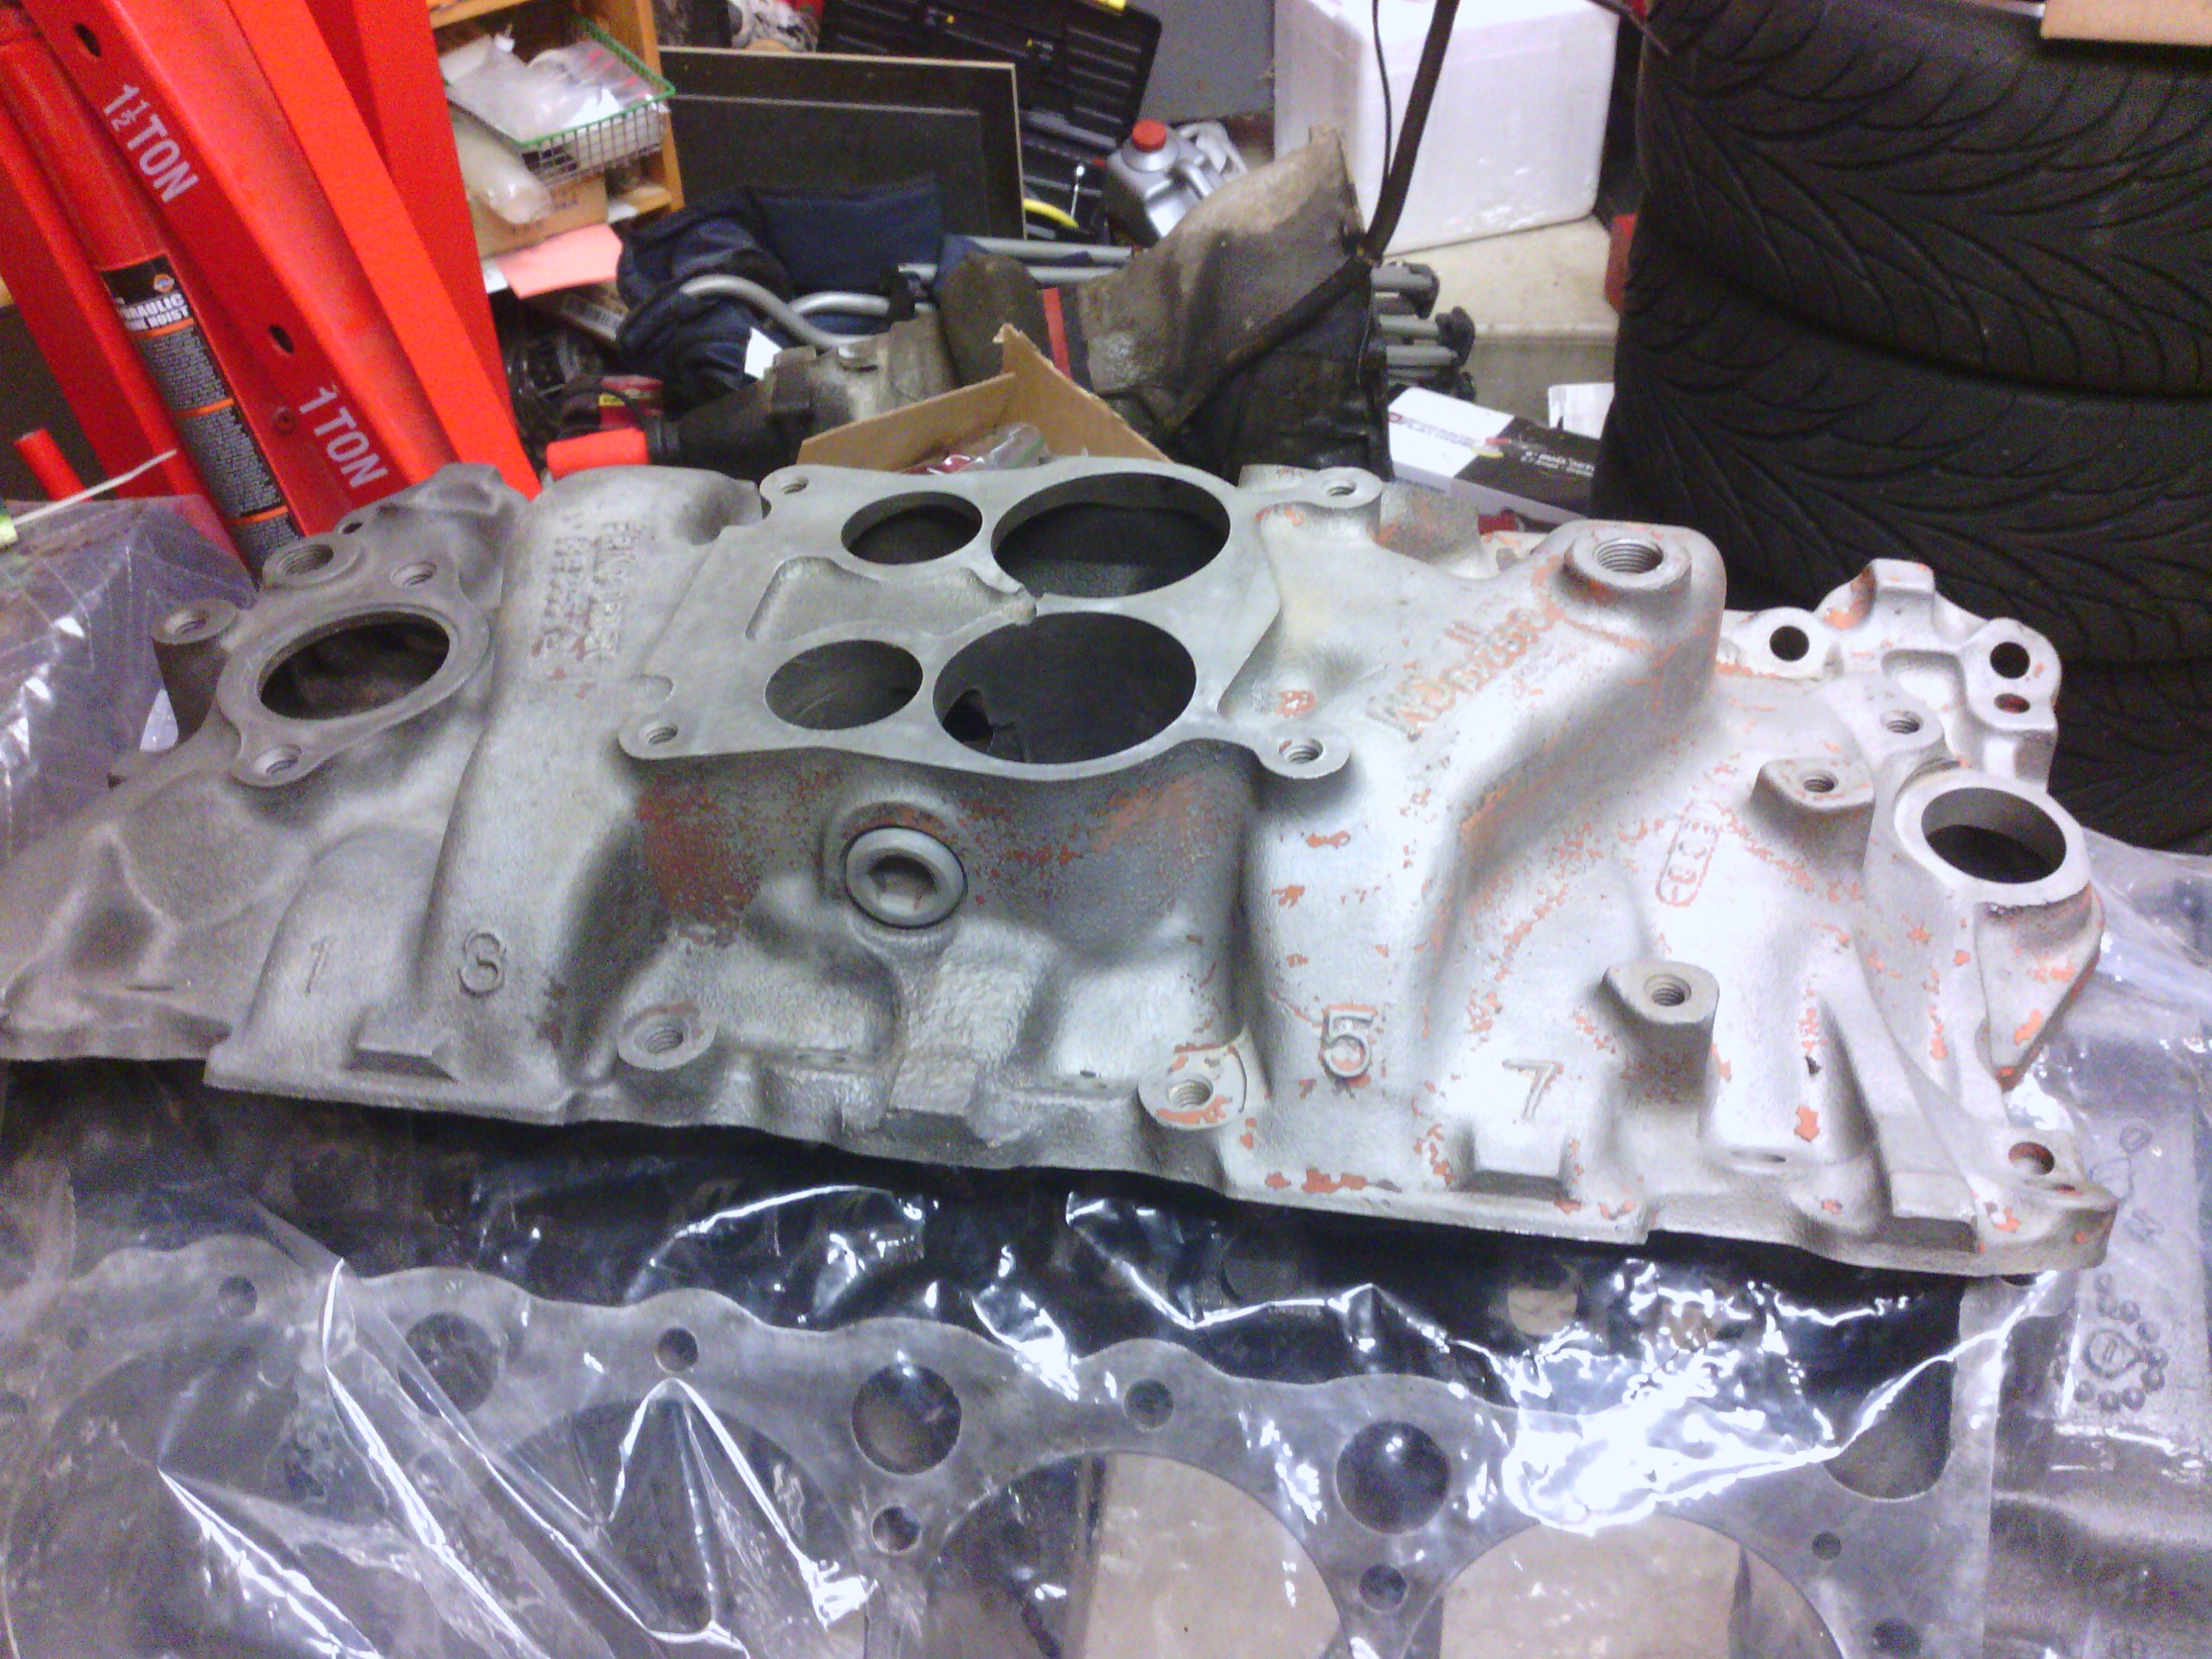
The intake manifold. It still has some bits of the old paint on it (even after hot-tanking), which we’ll have to remove with a wire wheel.
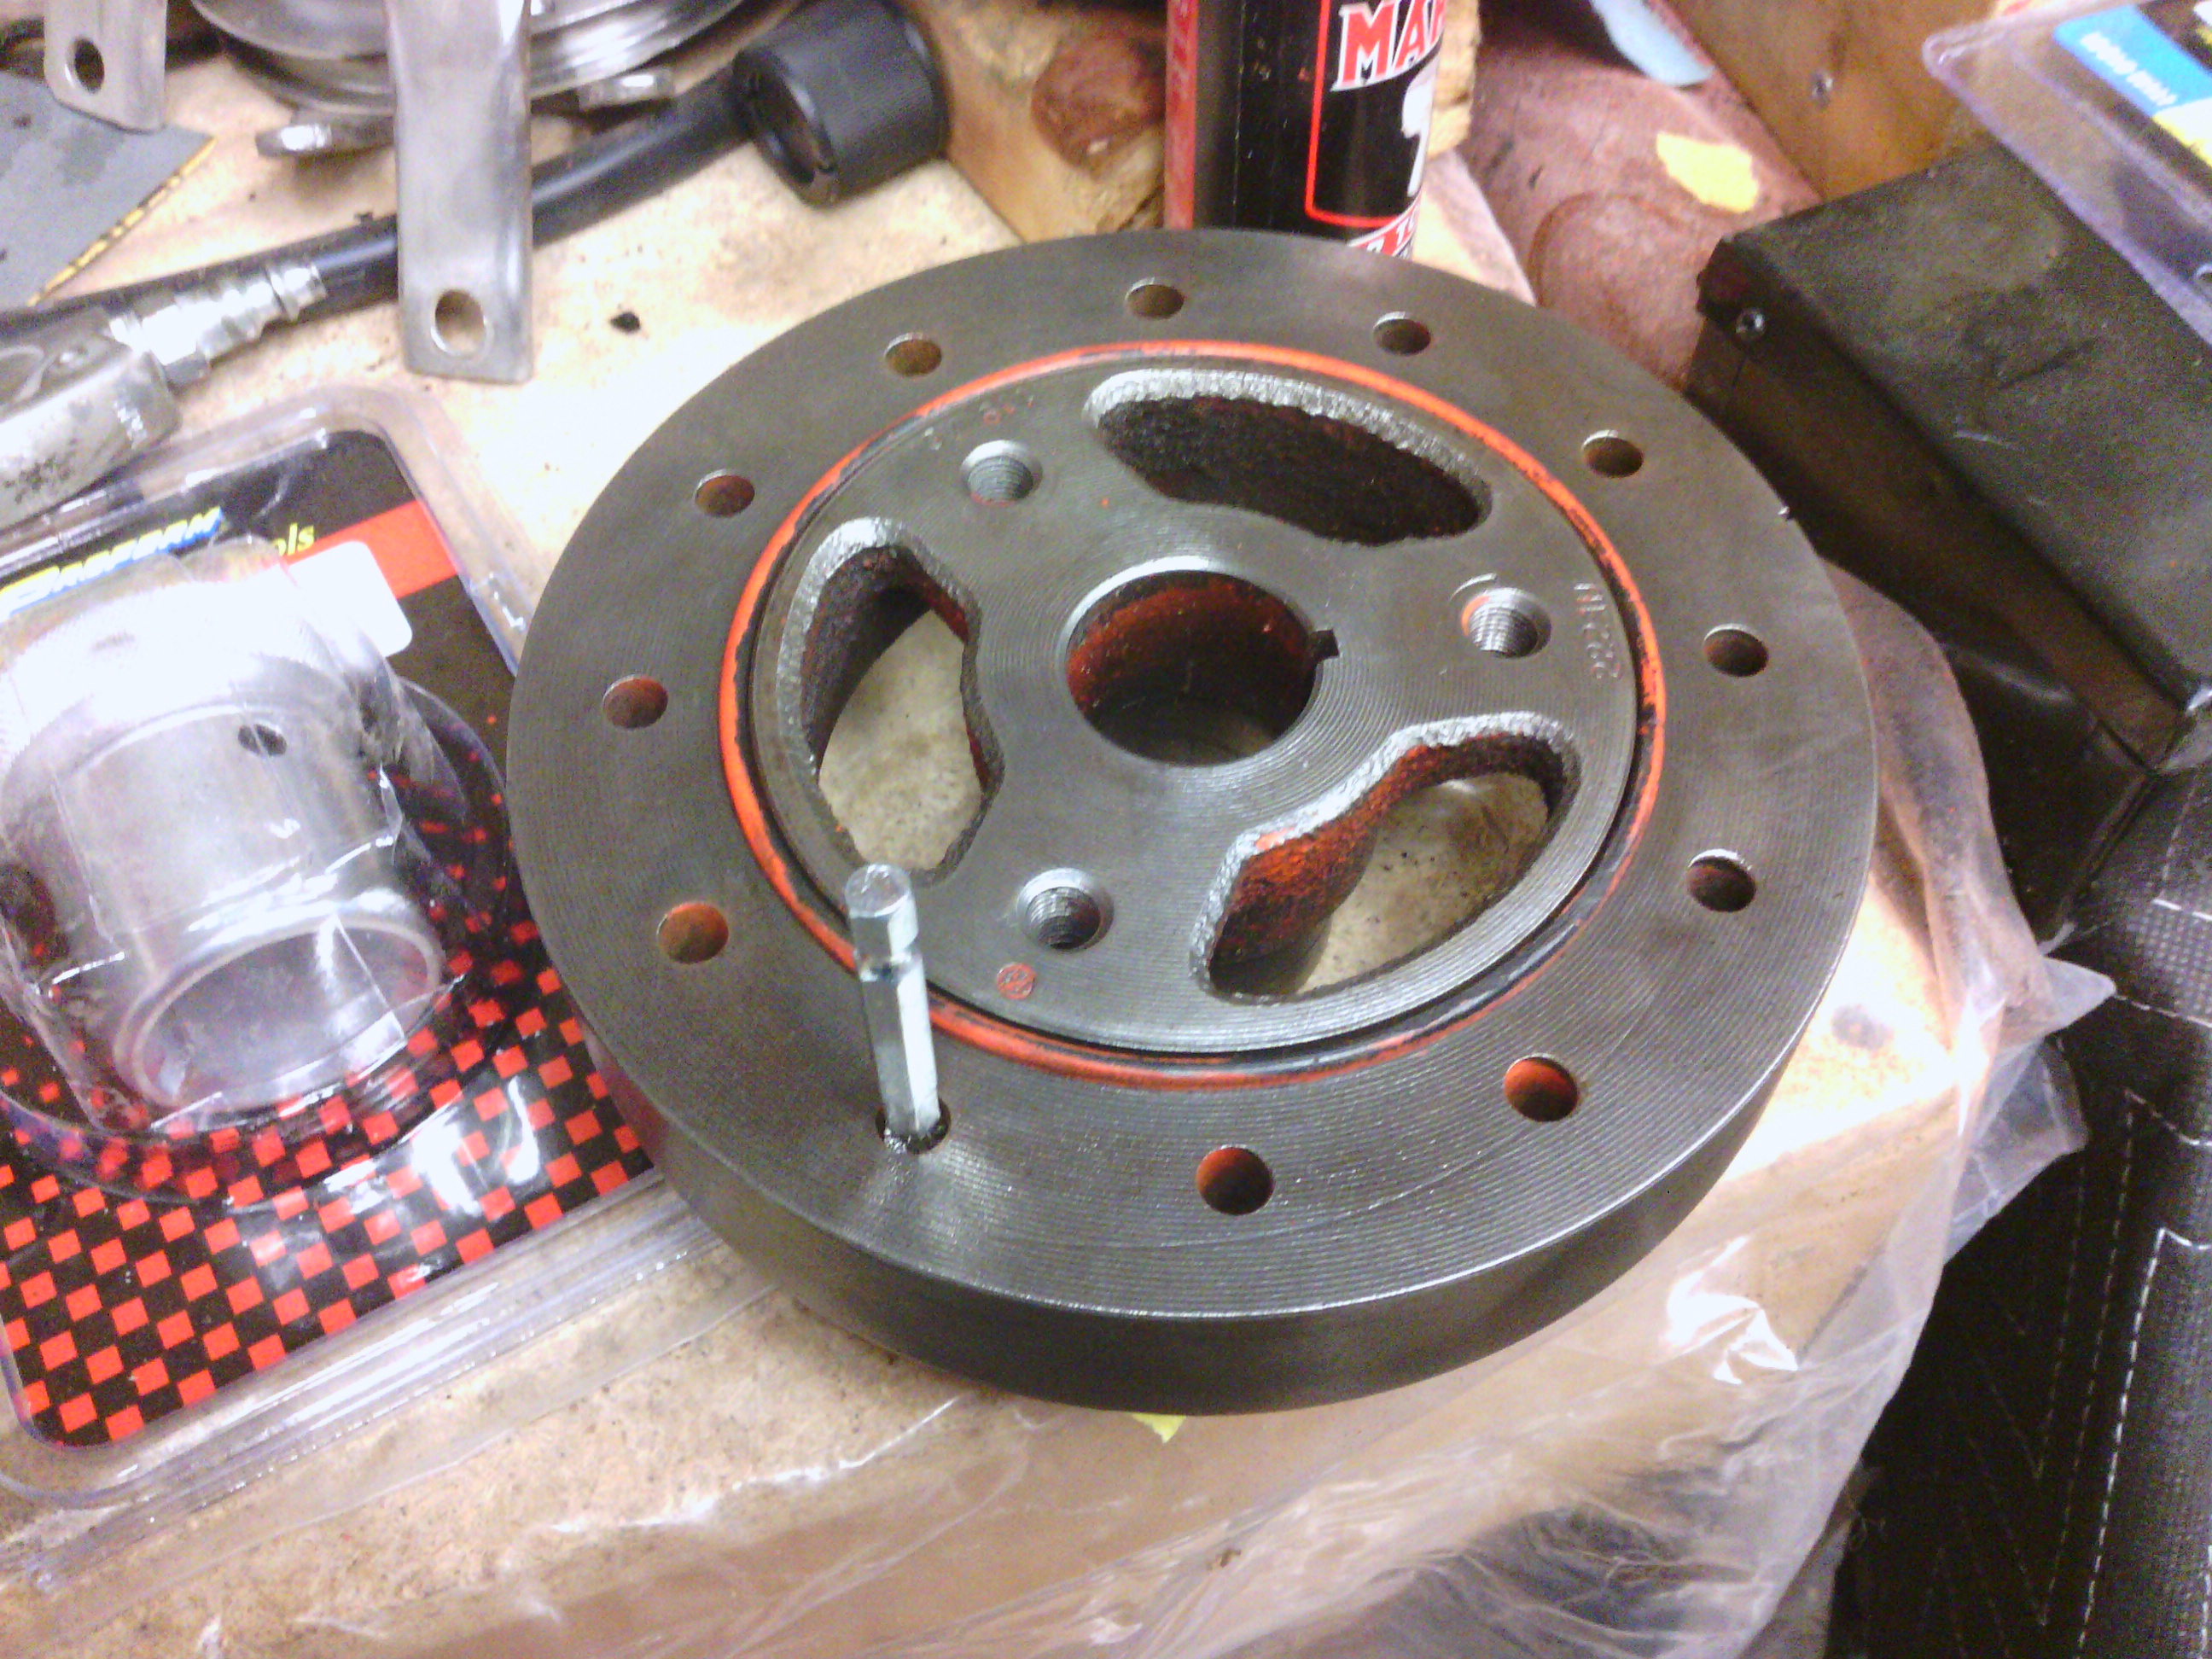
The harmonic balancer is cleaning up nicely, but it has a groove on the oil seal surface. We’ll have to add a repair sleeve to fix it, which we will do after it’s painted Chevy engine orange.
Howdy!
How ya’ll doing? Good, I hope. Well lately I have been pretty busy. I now work two jobs as a lifeguard. I almost forgot to tell you guys that my dad and I finally removed the windshield from Cora. Getting it out worried me a little bit because there is a huge crack in the windshield, but we managed to remove it successfully and safely.
We also managed to do our very own version of “spring cleaning”. We picked up the garage to get it ready for the engine rebuild, and my dad cleaned some of the parts like the valve covers and the oil pan. Lately, we have mainly just been doing some cleaning work, but that will change very soon!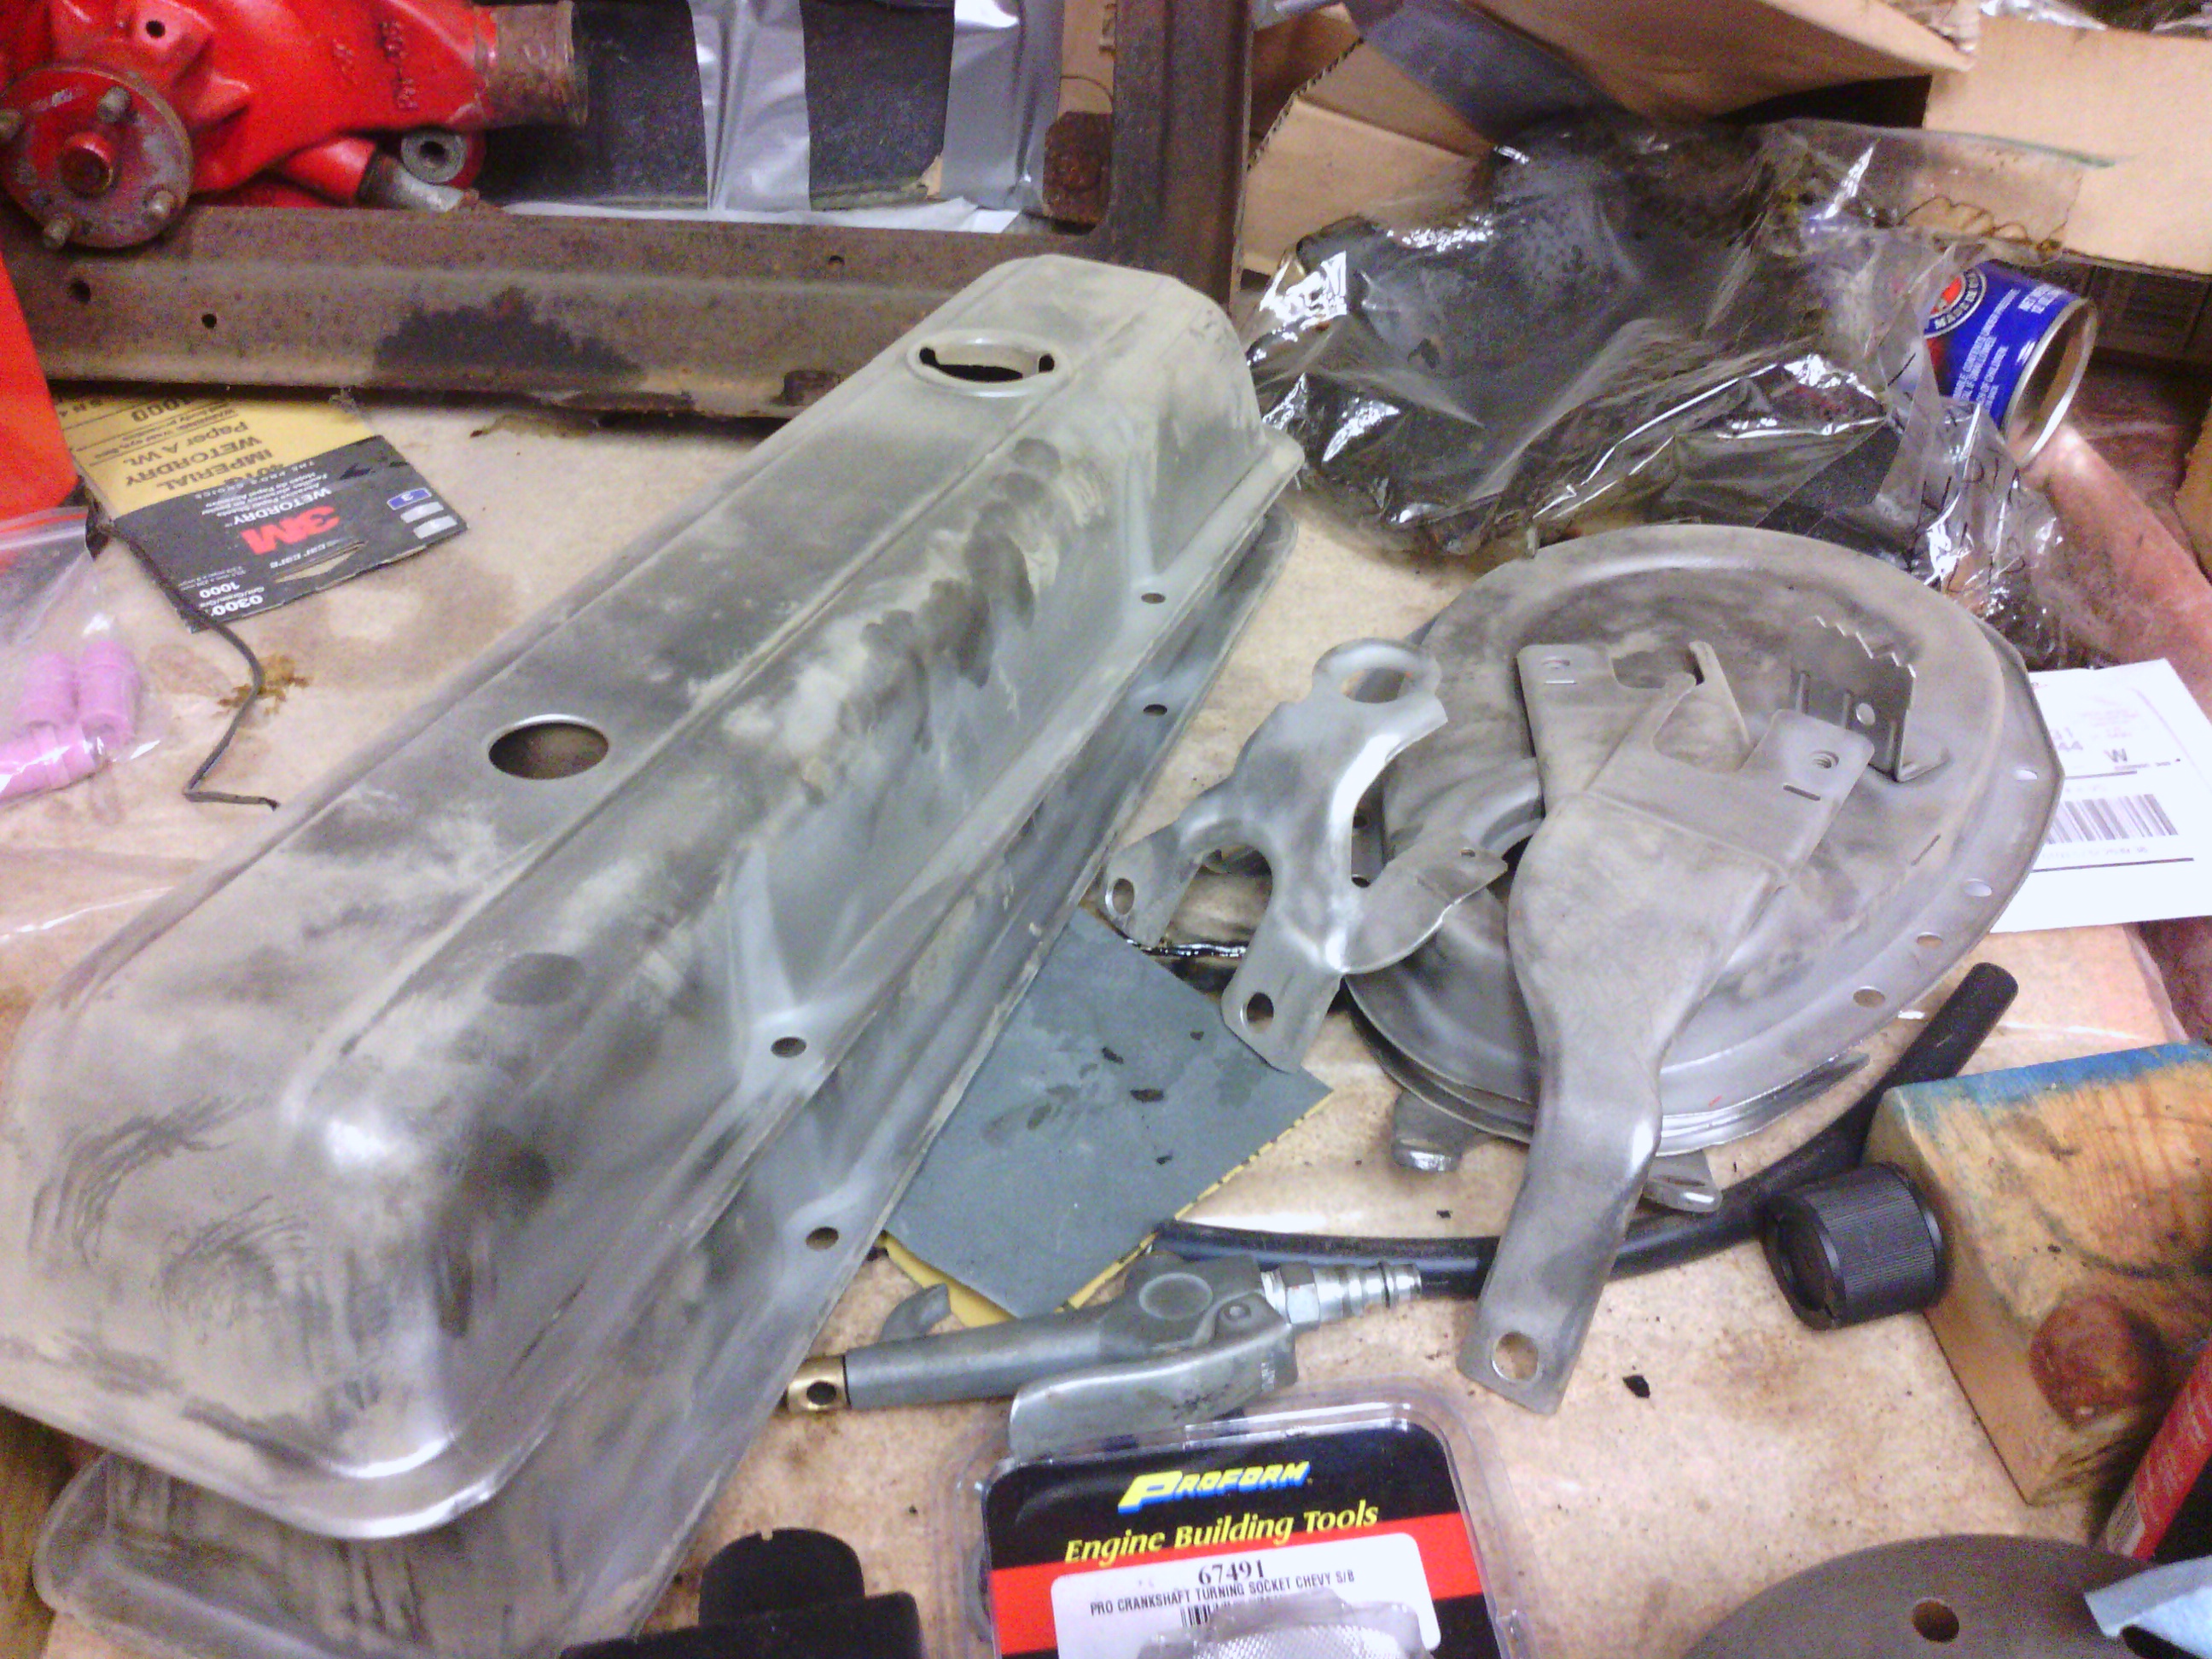
Thanks for reading! There will be a new post next Sunday. Take care and God bless ya!
-Jackie Wilson
Howdy ya’ll!
A bunch of stuff happened last week. Last Monday, my fam and I payed a visit to the Chicago Auto Show. The cars were ok. I still hate those taillights……….
At the show, we walked around. I there were two college booths there so I decided to check them out. I talked to some UIC and IIT people, and both of the colleges seemed like pretty good choices. However, I’ll have to do a bit more digging to check out the other options as well as the two listed above.
On Friday, my dad and I went to pick up Cora’s finished engine block from our local machine shop. “Pro Automotive Machine” in Gilberts, IL did a more than excellent job on the block. Randy, who is the shop owner, was very helpful to me and my dad. If you live in the area and need some work done on your engine block and etc, “Pro Automotive Machine” is the place to go to. And no, I’m not getting paid to say this stuff. Randy is in the picture below with me.
That’s all for this week. Thank ya’ll for reading and take care!
-Jackie Wilson
Hey guys!
I know, I haven’t updated in a while, and I’m sorry for that. Unfortunately, my dad and I have been really busy with different things so it has been more difficult lately to spend time on Cora. However, we made progress last week!
Above is the power steering pump case primed and ready to be painted.

Jackie replacing the inner o-ring seals on the power steering pump. The old o-rings were hardened and brittle and simply broke apart when being removed, which was not surprising since they were 38-years old!
Above is me removing some fun little rubber seals that were a pain to take out.
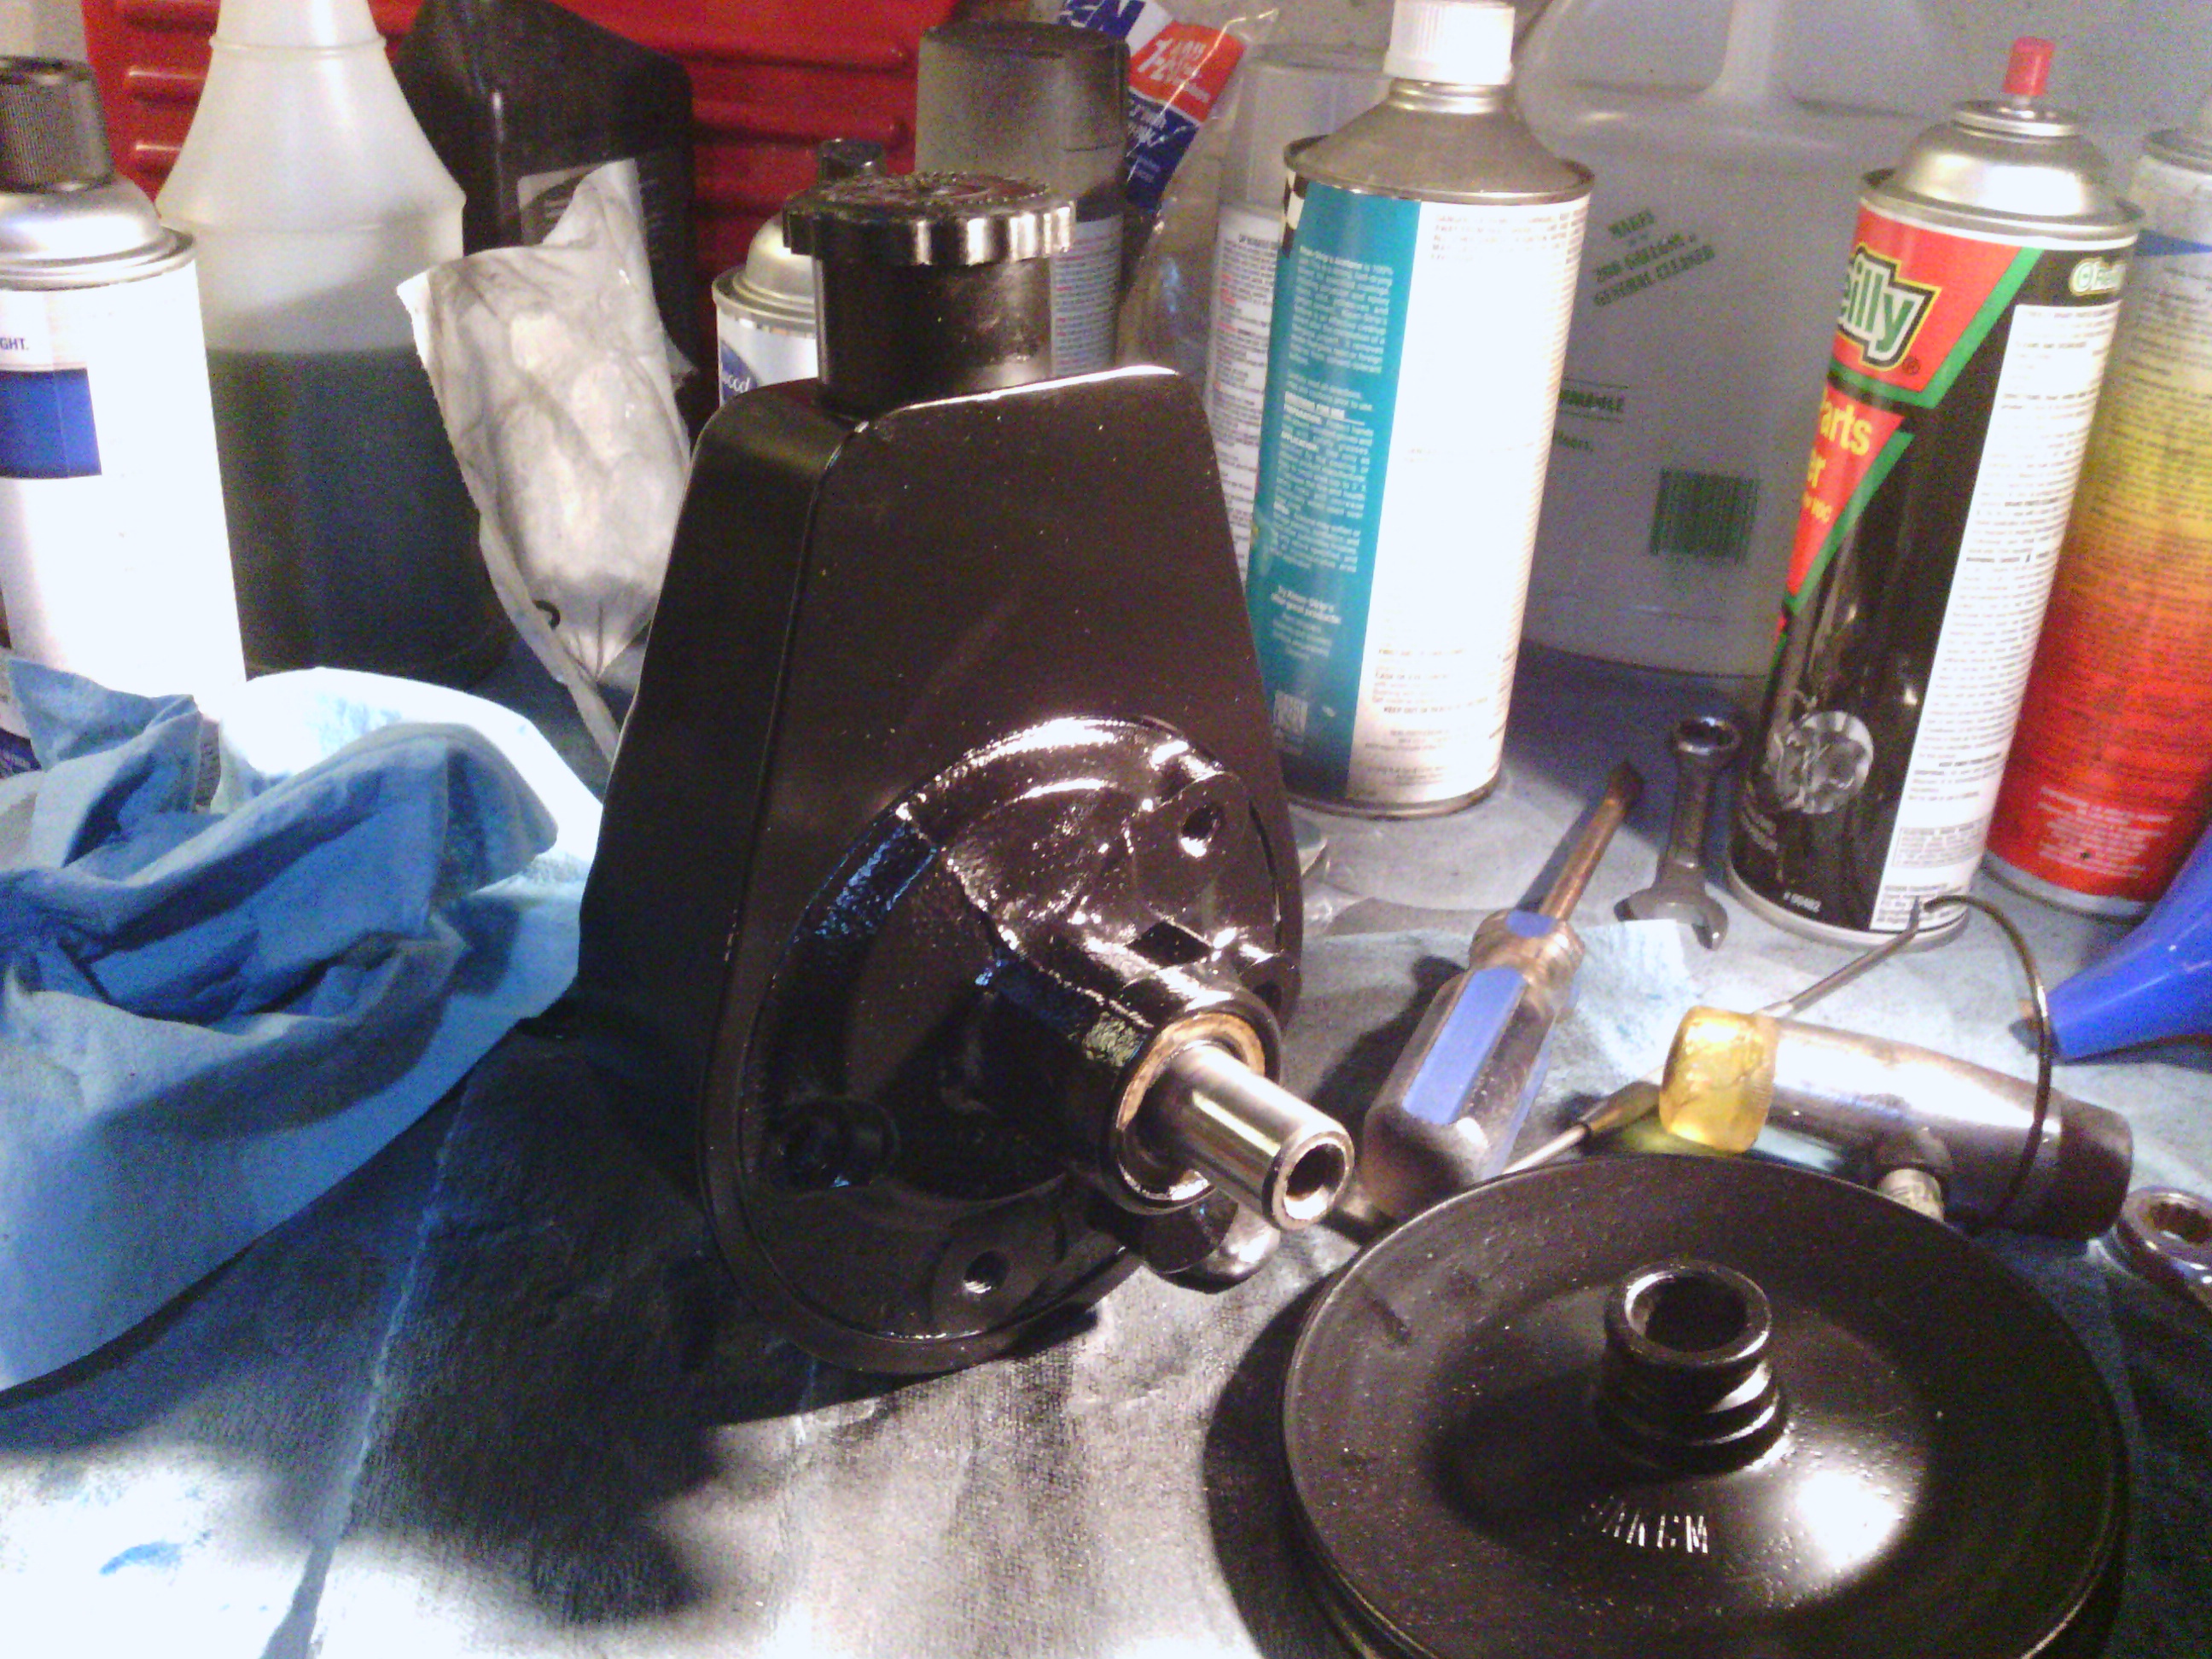
The rebuilt power steering pump. The pulley will be put on when we attach the mounting bracket before installing it on the engine.
^One good lookin’ power steering pump ready to go!
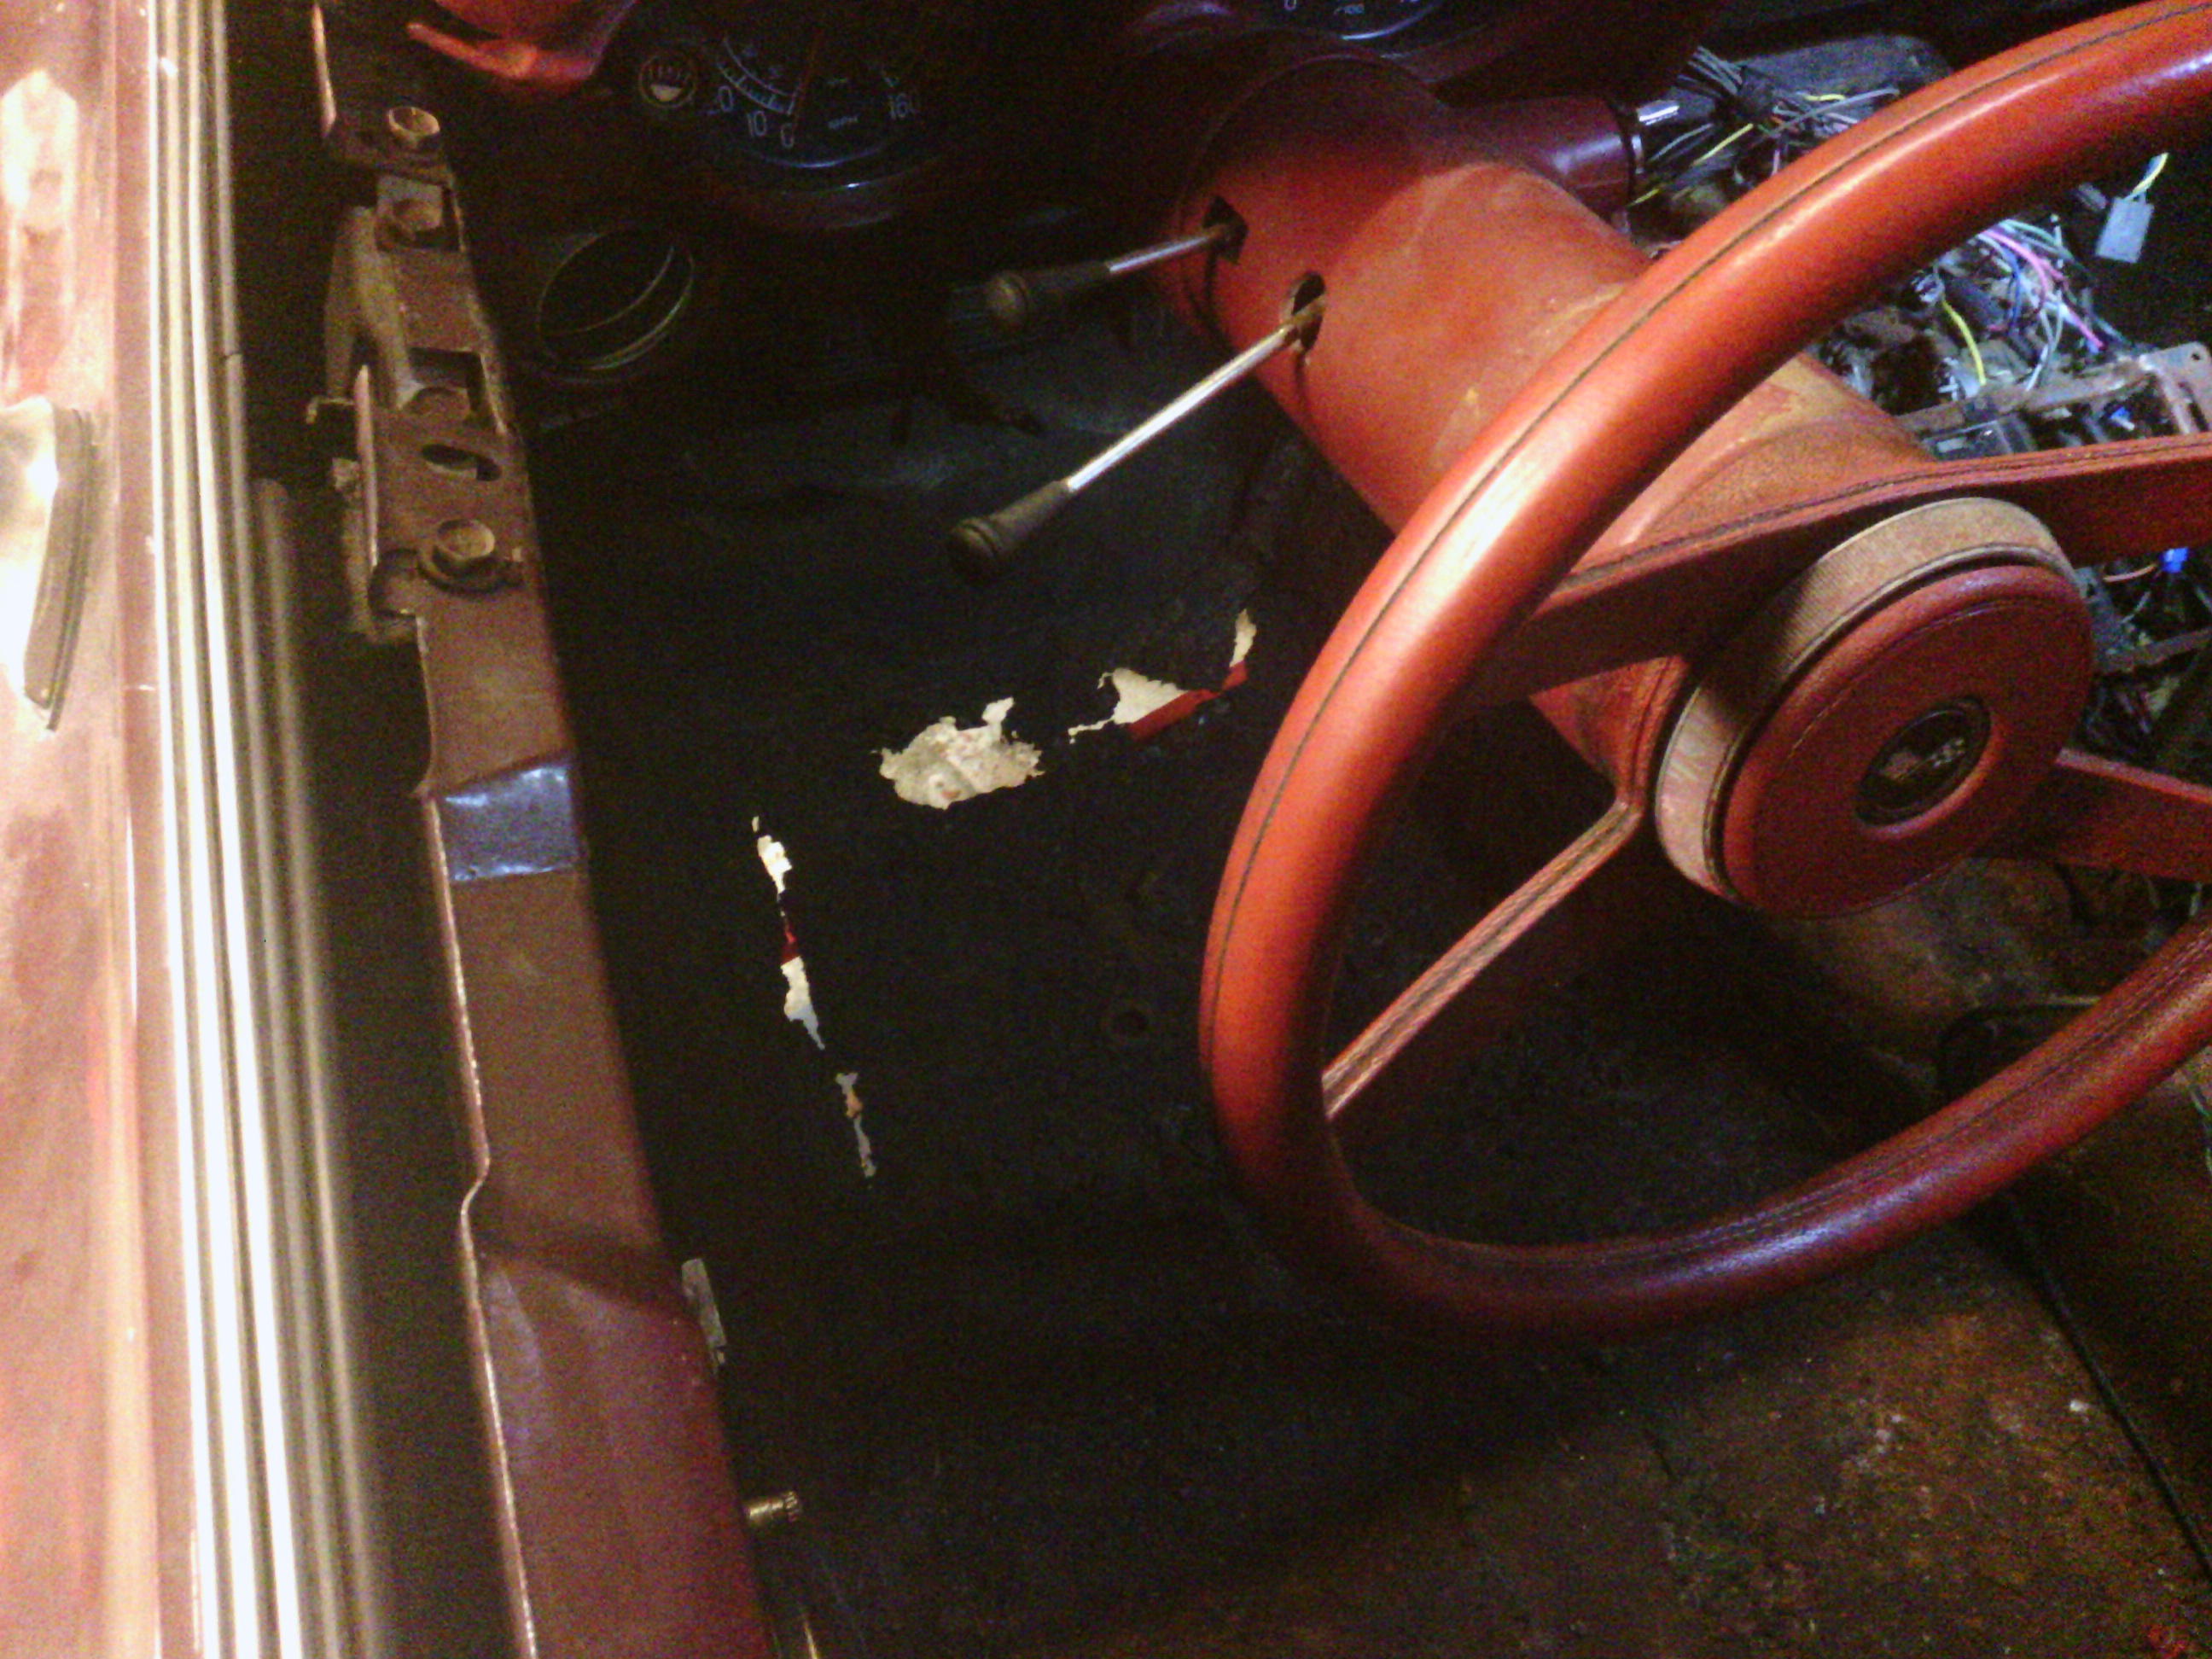
This is a shot of the floor pan rust on the driver’s side as shown by the flight coming up through the floor. We will be replacing both floor pans.

Only the instrument cluster, upper dash pad, A-pillars, and upper windshield trim remain. Unfortunately many of the screws in the upper windshield trim and A-pillars are rusted solid and will need to be drilled out.
So as you can see, my dad and I did get some things done this week! Thanks for tuning in and God bless!
-Jackie Wilson